As a newbie to yoga, you might feel overwhelmed by the sheer number of poses and their odd-sounding names. However, in any case, yoga can be simple. If you have already executed a yoga stance, you must stretch your arms over your head when you first got out of bed this morning. Additionally, remember that practicing yoga is a lifetime endeavor that will give you many chances to become proficient in various poses.
Many basic yoga postures seem pretty familiar because our bodies naturally fold and bend into poses. Learn the fundamental poses of yoga first, paying attention to your breathing. Keep things simple while you’re just getting started. The basic yoga poses given here are valuable enough.
Best Yoga Postures For Beginners
Here are some easy and effective yoga postures for beginners:
1. Downward-Facing Dog
Downward-Facing Dog is a foundational yoga pose that stretches and strengthens the entire body. Begin on your hands and knees with your hands shoulder-width apart and your knees hip-width apart. Tuck your toes under and lift your hips up and back, straightening your arms and legs into an inverted V shape. Press your hands and feet into the ground to create length in your spine and engage your core and thigh muscles. Keep your neck relaxed and gaze towards your navel.

This pose can improve flexibility, circulation, and digestion, as well as relieve stress and anxiety. Hold for several breaths before releasing.
2. Mountain Pose
Mountain Pose, also known as Tadasana, is a foundational standing posture in yoga. To practice Mountain Pose, stand with your feet hip-width apart and distribute your weight evenly across both feet. Engage your thigh muscles and lengthen your spine, lifting the crown of your head towards the ceiling. De-stress your shoulders away from your ears and draw your shoulder blades down your back.

Keep your arms by your sides, with your palms facing forward. Breathe deeply and maintain the pose for several breaths, feeling the earth’s grounding energy beneath your feet. Mountain Pose helps to improve posture, balance, and overall body awareness.
3. Warrior I
Warrior I, or Virabhadrasana I, is a standing yoga posture that strengthens the legs, hips, and core while stretching the chest, shoulders, and arms. To perform the pose, start in Mountain Pose and step one foot back while turning it out at a 45-degree angle. Bend the front knee to a 90-degree angle and raise the arms overhead, keeping the shoulders relaxed. Ground down through the feet and engage the core to maintain balance. Hold the pose for several breaths, then switch sides.

Warrior I is a powerful pose that can improve balance, stability, and overall strength, making it a great addition to any yoga practice.
4. Warrior II
Warrior II (Virabhadrasana II) is a yoga pose that strengthens and stretches the legs, hips, and arms while improving balance and concentration. To perform the pose, stand with feet about four feet apart and turn the right foot outwards 90 degrees while the left foot turns slightly inwards. Extend the arms to shoulder height and bend the right knee, ensuring it is aligned with the ankle. Gaze out over the right hand and hold the pose for several breaths. Repeat on the opposite side.

Warrior II is known for building strength and endurance while encouraging focus and calmness of the mind.
5. Extended Side Angle
Utthita Parvakonasana, also known as Extended Side Angle Pose, is a standing yoga pose that strengthens and stretches the legs, hips, and upper body. To perform this pose, start in Warrior II pose with your front knee bent at a 90-degree angle and your back leg extended behind you. Next, place your front hand on the ground or a block on the inside of your front foot, and reach your other hand up towards the ceiling, creating a straight line from your back foot to your fingertips.

Engage your core and breathe deeply as you hold the pose for several breaths. This pose can improve balance, increase flexibility, and help relieve stress and tension in the body.
6. Triangle Pose
Triangle pose, or Utthita Trikonasana, is a standing yoga posture that strengthens the legs, stretches the hips and hamstrings, and opens the chest and shoulders. To practice this pose, begin in a wide-legged stance with your feet parallel. Turn your left foot outward and your right foot slightly inward. Extend your arms parallel to the ground, then reach forward with your left hand and place it on the floor or a block outside your left foot. Next, stretch your right arm toward the ceiling and gaze up at your fingertips. Hold for several breaths, then repeat on the other side.

7. Standing Forward Bend
Standing Forward Bend, or Uttanasana, is a yoga posture that stretches the hamstrings, calves, and lower back. To practice this pose, stand with your feet hip-distance apart and fold forward, hinging at the hips. Keep your knees slightly bent to avoid straining the lower back. Bring your hands to the floor or hold onto your shins or ankles. Allow your head to hang heavy and your spine to lengthen. Breathe deeply and hold the pose for a few breaths before slowly coming back up to standing. This pose can help relieve stress, calm the mind, and improve digestion.

8. Reverse Warrior
Reverse Warrior, or Viparita Virabhadrasana, is a yoga pose that is often performed as a part of a yoga flow sequence. To get into the pose, start in Warrior II with your front knee bent and your back leg straight. From there, reach your front arm forward and then up while sliding your back hand down your back leg. Your gaze can be up at your raised hand or down towards your back foot. Reverse Warrior stretches and strengthens the legs, hips, and side body while also opening the chest and lungs. It can help improve balance, flexibility, and circulation while also promoting a sense of energy and vitality.

9. Garland Pose
Garland Pose, also known as Malasana in Sanskrit, is a yoga posture that involves squatting down with the feet close together and the hips lowered towards the heels. The palms are usually pressed together at the center of the chest in a prayer position. This pose helps to open up the hips, stretch the groin and lower back, and strengthen the thighs and buttocks. It can also improve digestion, increase flexibility, and promote relaxation. To perform Garland Pose, start in a standing position with feet hip-width apart, then slowly lower into a deep squat with the knees pointing outwards. Keep the back straight and engage the core for stability.

10. Half Forward Bend
Half Forward Bend, also known as Ardha Uttanasana, is a standing yoga pose that stretches the hamstrings, calves, and spine. Stand with your feet hip-distance apart to perform this pose, and place your hands on your hips. As you inhale, lengthen your spine and lift your chest. As you exhale, hinge at your hips and fold forward, keeping your spine long. Depending on your flexibility, place your hands on your shins, ankles, or the floor. Keep your knees slightly bent if necessary to avoid straining your hamstrings. Maintain the pose for a few breaths before slowly returning to standing.

11. Pyramid Pose
Pyramid Pose, also known as Parsvottanasana in Sanskrit, is a standing forward fold yoga pose that stretches the hamstrings, calves, and spine while strengthening the legs and improving balance. To perform this pose, start in a standing position with your feet hip-width apart, then step your right foot back about 3-4 feet and square your hips towards the front of your mat. Inhale to prolong your spine, then exhale to fold forward over your front leg, bringing your hands to the floor or onto blocks. Keep your hips level and draw your left hip back as you continue to fold forward, keeping a slight bend in your front knee. Hold the pose for a few breaths, then release and repeat on the other side.

12. Raised Hands Pose
Raised Hands Pose, also known as Urdhva Hastasana, is a basic standing yoga posture that involves lifting the arms above the head. To practice this pose, stand tall with your feet hip-distance apart, and stretch your arms up towards the sky with your palms facing each other. Keep your shoulders flexible and your gaze forward. This pose helps to improve posture, open up the chest and lungs, and increase energy and vitality. It’s also a great way to prepare the body for other standing postures and helps to build strength and flexibility in the arms, shoulders, and upper back.

13. Low Lunge
Low Lunge, also known as Anjaneyasana in Sanskrit, is a yoga pose that primarily stretches the hip flexors, quadriceps, and hamstrings while opening up the chest and shoulders. To perform the pose, start in a downward-facing dog pose, step the right foot forward between the hands, and drop the left knee to the floor. Inhale and lift the torso upright while raising the arms overhead. Hold for several breaths before releasing and repeating on the other side. Low Lunge can help improve flexibility and balance, relieve tension in the hips, and increase circulation in the body.

14. Tree Pose
Tree pose (Vrksasana) is a standing yoga posture that promotes balance and stability while improving focus and concentration. To practice this pose, begin standing with your feet hip-distance apart, then shift your weight onto one foot and lift the other to rest on the inner thigh of the standing leg. Next, press your foot into your thigh, and then bring your hands together at your heart center. As you balance on one foot, focus on rooting down through your standing foot and lengthening up through your spine. Tree pose is a great way to cultivate strength and steadiness in both body and mind.

15. Downward Facing Dog Split
Downward Facing Dog Split is a yoga pose that combines the benefits of Downward Facing Dog and Standing Split. Start in Downward Facing Dog, with your hands and feet on the mat, forming an inverted V-shape with your body. Next, raise your right leg behind you, keeping your hips level, and lengthen through your spine. Take a few breaths here, then slowly lower your right foot back to the mat. Repeat on the other side. This pose helps stretch and strengthen your hamstrings, calves, and spine while improving balance and stability. It can also help to relieve stress and tension in the body and improve overall flexibility and range of motion.

16. Plank
The plank is a simple yet highly effective exercise that targets the body’s core muscles. To perform a plank, start in a push-up position, with your hands directly under your shoulders and your body in a straight line from head to heels. Next, lower your forearms to the ground and maintain this position for as long as you can, keeping your core tight and your hips level. The plank is a great way to improve core stability, increase overall strength, and reduce the risk of back pain. Depending on your fitness level, it can be modified in various ways to make it easier or more challenging.

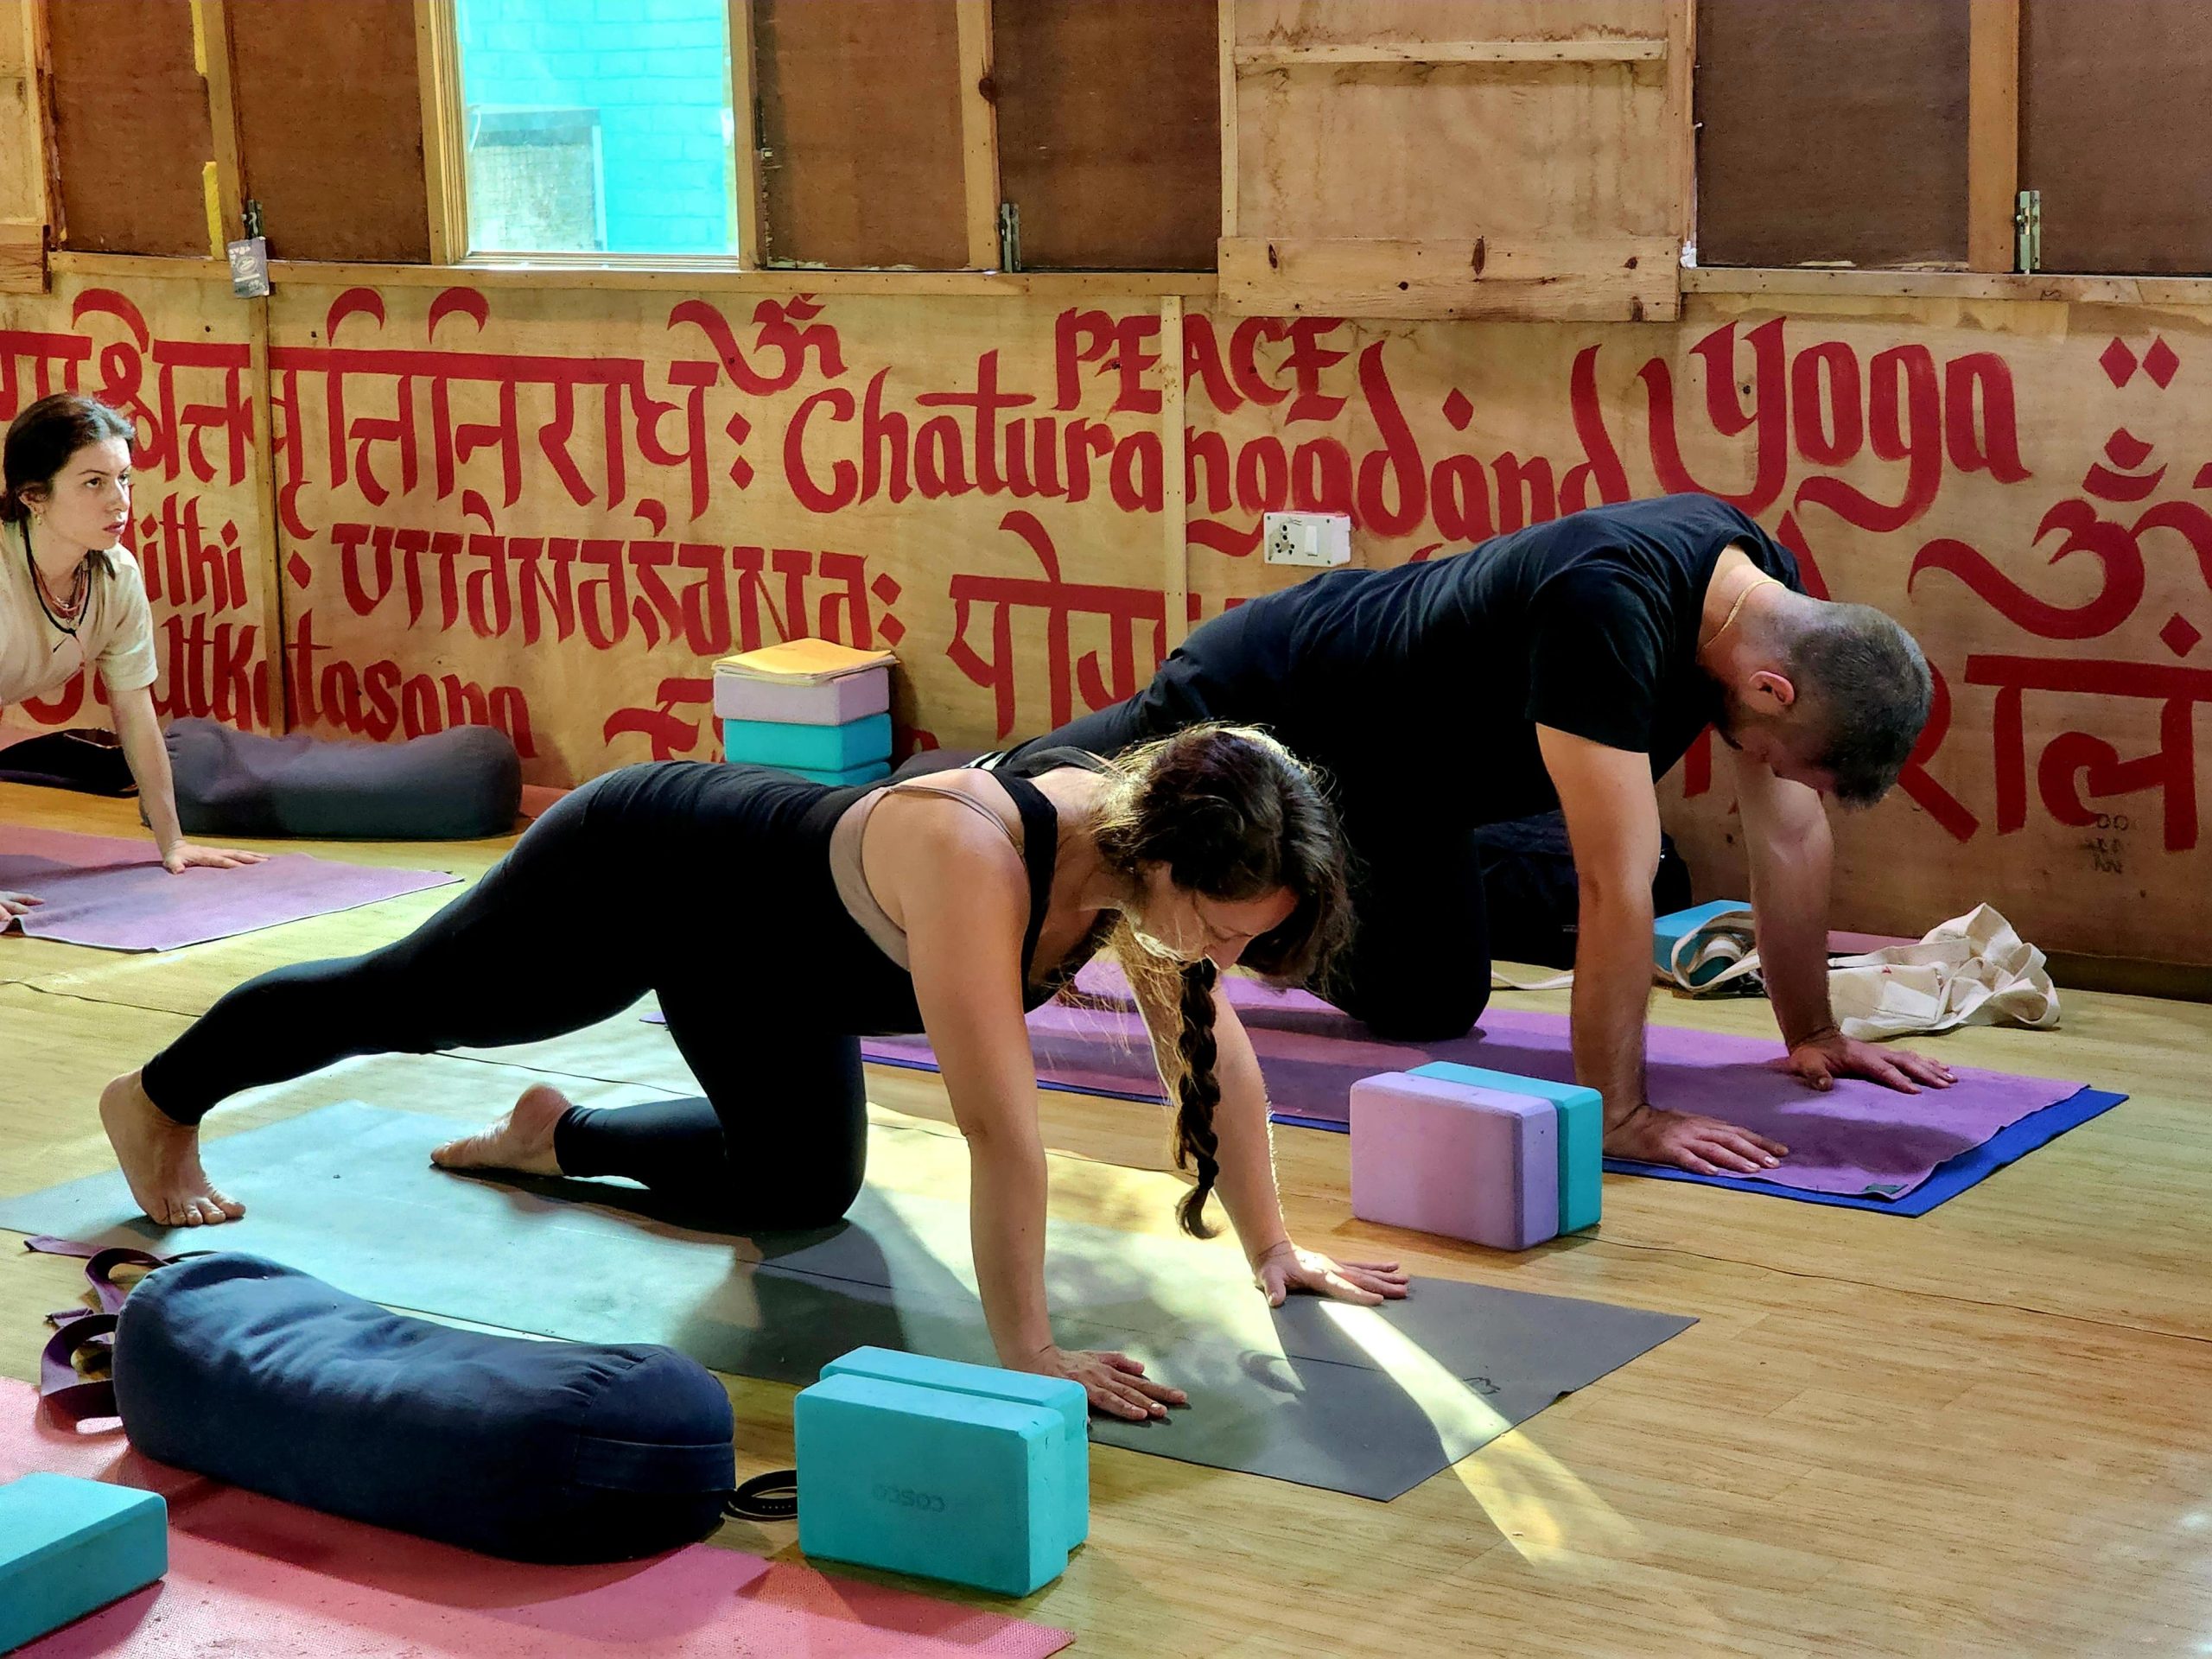
17. Cat-Cow Stretch
Cat-Cow Stretch, also known as Chakravakasana, is a yoga pose that involves transitioning between gentle, flowing movements to stretch the spine and improve mobility. To perform the pose, start on your hands and knees with your wrists straight beneath your shoulders and your knees under your hips. As you inhale, arch your back and lift your tailbone towards the ceiling, moving into Cow Pose. As you exhale, round your spine and tuck your chin to your chest, moving into Cat Pose. Repeat this fluid movement for several breaths to release tension in the spine and increase flexibility. This pose is often used as a warm-up or as a part of a larger yoga practice.

18. Bridge Pose
Bridge Pose, or Setu Bandha Sarvangasana, is a yoga posture that strengthens the legs, glutes, back, and core muscles. To practice Bridge Pose, lie on your back with your knees bent and your feet flat, hip-distance apart. Place your arms alongside your body, with your palms facing down. Press your feet and arms into the ground and lift your hips towards the ceiling, creating a bridge shape with your body. Hold the pose for a few breaths, then slowly lower your hips. Bridge Pose can help relieve stress and tension, improve digestion, and energize the body.

19. Cobra Pose
Cobra pose, or Bhujangasana, is a yoga posture that involves lying face down on the ground and lifting the chest and upper body upwards while keeping the arms straight and close to the body. The pose is commonly practiced as part of a sun salutation sequence or as a standalone posture. To perform the pose, one should lie on the stomach with the palms flat on the ground next to the shoulders. As you inhale, gently press into the palms and lift the chest off the ground, keeping the elbows close to the body—Exhale as you lower the chest back down to the ground. The cobra pose stretches the chest, shoulders, and abdomen while strengthening the spine and arms. It can be altered for different levels of flexibility and is often used in yoga therapy to alleviate back pain and improve posture.

20. Ashtanga Namaskara
Ashtanga Namaskara is a fundamental pose in yoga known as the Eight Limbed Salute or Chaturanga Dandasana. It involves a full-body prostration with eight points touching the ground: feet, knees, hands, chest, and chin. This pose is often used as a transition in Sun Salutations and is an excellent strengthening exercise for the upper body, core, and legs. It helps improve posture, flexibility, and overall physical fitness. Ashtanga Namaskara can also be a meditative pose that cultivates mindfulness and concentration. It is a foundational pose that can lead to more advanced yoga posture

21. Staff Pose
Staff pose, also known as Dandasana, is a seated posture commonly used in yoga and meditation. To assume this pose, sit with your legs extended straight out in front of you, keeping your feet together and your spine long. Next, ground your sitting bones firmly into the ground, engage your thigh muscles, and flex your feet. Maintain a tall, lifted spine, reaching the crown of your head towards the ceiling while relaxing your shoulders away from your ears. Take slow, deep breaths, and stay in the pose for a few minutes to improve your posture, strengthen your core, and increase your focus and concentration.

Conclusion
In conclusion, while yoga may seem overwhelming for beginners due to the variety of poses and unfamiliar terminology, starting with basic yoga postures and focusing on breath awareness can make it a simple and enjoyable practice. It is a lifelong journey that provides numerous opportunities to master different poses. It is worth noting that you can be an expert in some of the 21 essential yoga poses mentioned here to reap the benefits of yoga. It’s important to remember that proper alignment is crucial in each pose, and everyone’s body is different, so it’s best to take it slow and focus on the fundamentals.
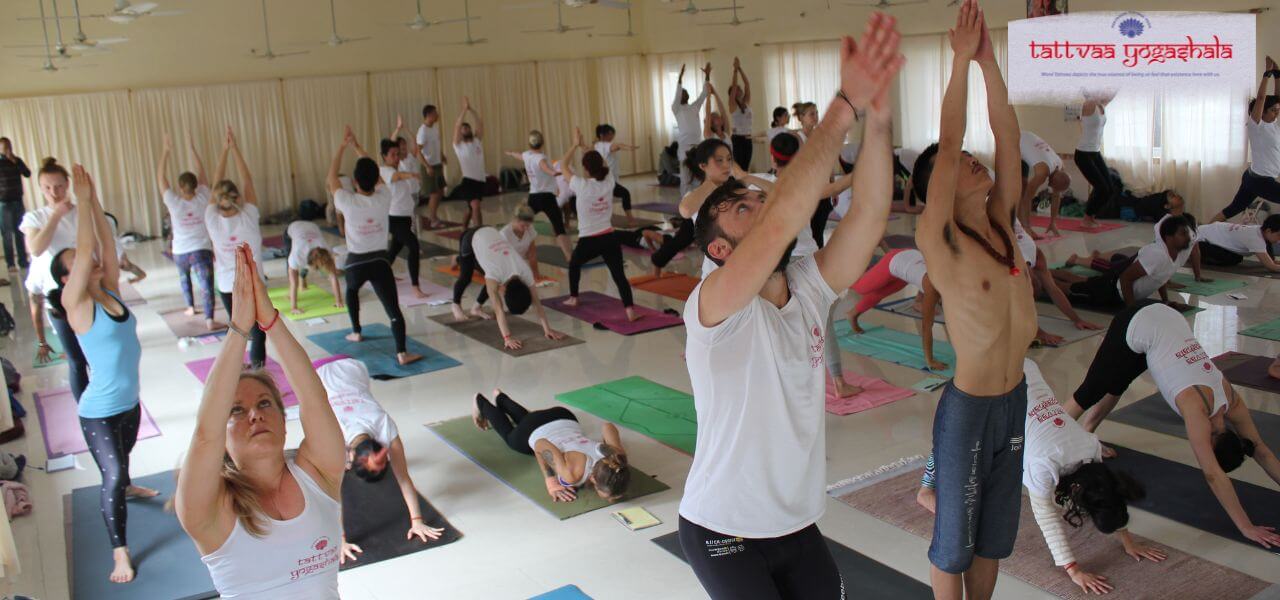
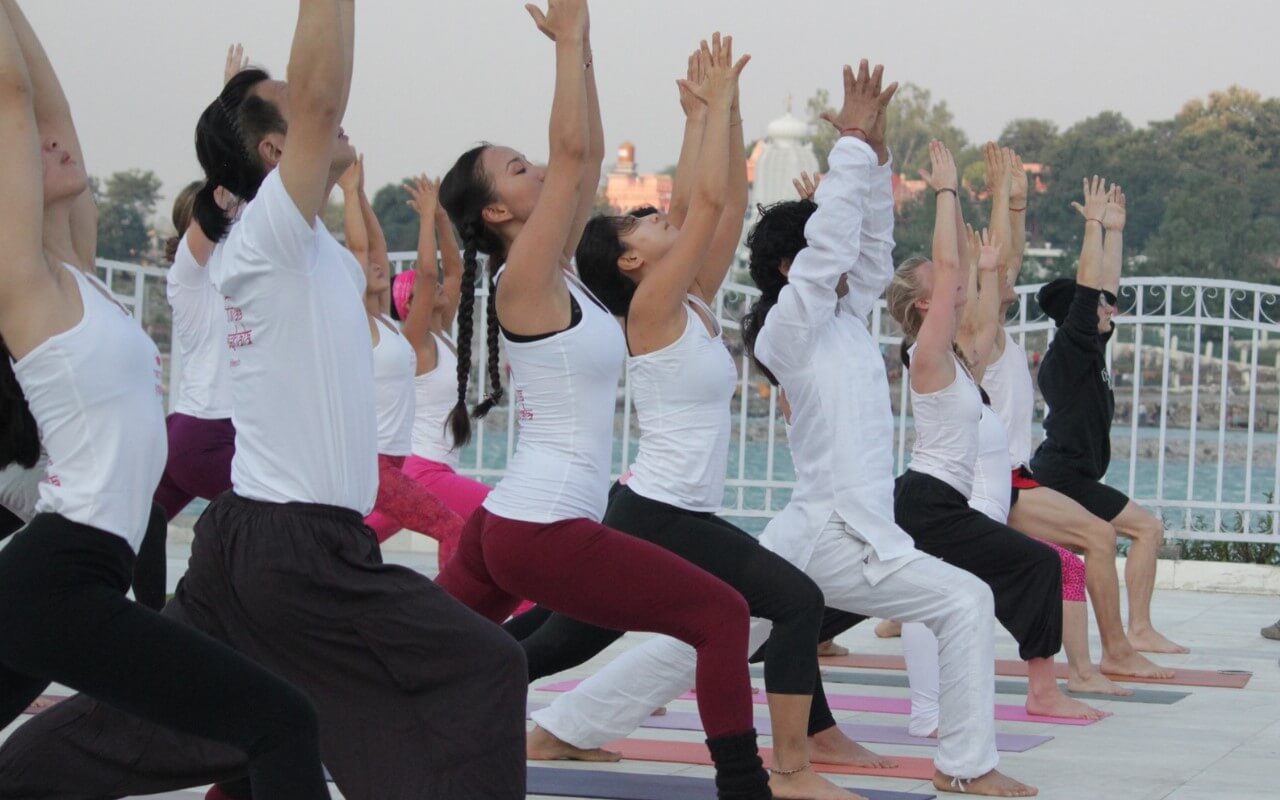
If you’re interested in deepening your yoga practice, joining a yoga teacher training program can be an excellent way to enhance your skills and knowledge. At Tattva Yogashala, we offer a comprehensive yoga teacher training course in Rishikesh that provides a solid foundation in yoga philosophy, anatomy, and teaching methodology. So whether you want to become a certified yoga instructor or deepen your practice, our experienced and dedicated instructors can guide you on your journey toward personal growth and transformation.